Moss the Mushroom
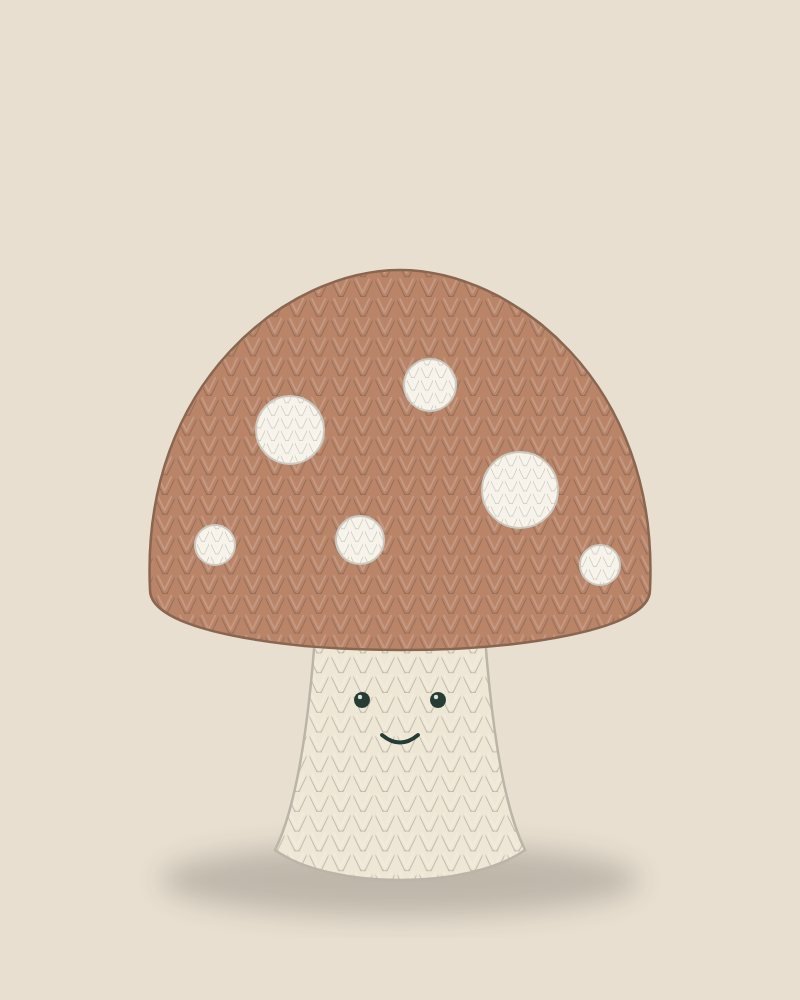
A small, smiling toadstool worked in soft cotton. A gentle first amigurumi that teaches the magic ring, increases and decreases.
Materials
- DK (light worsted) cotton yarn: a 50 g ball of clay red and a 50 g ball of cream is more than enough
- 2.5 mm crochet hook
- Two 6 mm safety eyes, or black yarn to embroider the eyes
- Polyester fibre fill
- Stitch marker, yarn needle, scissors
Gauge
Gauge is not critical. Work firmly enough that the stuffing does not show: roughly 24 sc × 26 rounds = 10 cm (4 in). If your fabric looks gappy, drop a hook size.
Work amigurumi in a spiral without joining. Mark the first stitch of every round and move the marker up as you go. Stuff firmly as you close each piece, so the fibre does not show between stitches.
Abbreviations
- ch chain
- sl st slip stitch
- sc single crochet (US)
- inc increase: 2 sc (or 2 hdc) in the same stitch
- dec decrease: single crochet 2 together, worked as an invisible decrease (front loops only of the next 2 sts)
- MR magic ring
- st(s) stitch(es)
- Rnd round (worked in a spiral unless the pattern says to join)
- * * repeat the instructions between asterisks as directed
- ( ) the stitch count at the end of a round
Cap
Begin with clay red. The cap is worked from the top down as a flattened sphere.
- Rnd 16 sc in magic ring(6)
- Rnd 2inc in every st around(12)
- Rnd 3(*1 sc, inc*) × 6(18)
- Rnd 4(*2 sc, inc*) × 6(24)
- Rnd 5(*3 sc, inc*) × 6(30)
- Rnd 6(*4 sc, inc*) × 6(36)
- Rnd 7(*5 sc, inc*) × 6(42)
- Rnd 8(*6 sc, inc*) × 6(48)
- Rnds 9–11sc in every st around(48)
- Rnd 12(*6 sc, dec*) × 6(42)
- Rnd 13(*5 sc, dec*) × 6(36)
- Rnd 14(*4 sc, dec*) × 6(30)
- Rnd 15(*3 sc, dec*) × 6(24)
- Rnd 16(*2 sc, dec*) × 6(18)
- Rnd 17(*1 sc, dec*) × 6(12)
- Rnd 18dec × 6(6)
Stuff the cap firmly before the final rounds. Fasten off and weave the end through the last 6 stitches to close.
Stem
Change to cream. The back-loop round creates a crisp edge so the stem stands up on its own.
- Rnd 16 sc in magic ring(6)
- Rnd 2inc in every st around(12)
- Rnd 3(*1 sc, inc*) × 6(18)
- Rnd 4(*2 sc, inc*) × 6(24)
- Rnd 5sc in back loops only in every st around(24)
- Rnds 6–11sc in every st around(24)
- Rnd 12(*2 sc, dec*) × 6(18)
- Rnds 13–14sc in every st around(18)
Stuff firmly. Fasten off, leaving a long tail for sewing.
Spots (make 5)
Use cream.
- Rnd 16 sc in magic ring. Sl st in the first st, fasten off and leave a tail for sewing(6)
Finishing
Sew the stem to the underside of the cap, centred, with small whip stitches. Sew the spots to the cap in a scattered arrangement. Insert the safety eyes between rounds 8 and 9 of the stem, about 6 stitches apart, or embroider them with a few stitches of black yarn. Embroider a small smile beneath.
For personal use. See our terms for what you may do with finished items.