
Crochet Snowman Christmas Ornament: Design, Components & Assembly Guide
How to plan a crochet snowman Christmas ornament: design anatomy, materials, safety, conceptual construction workflow, and variations. An editorial design guide, not a tested pattern.
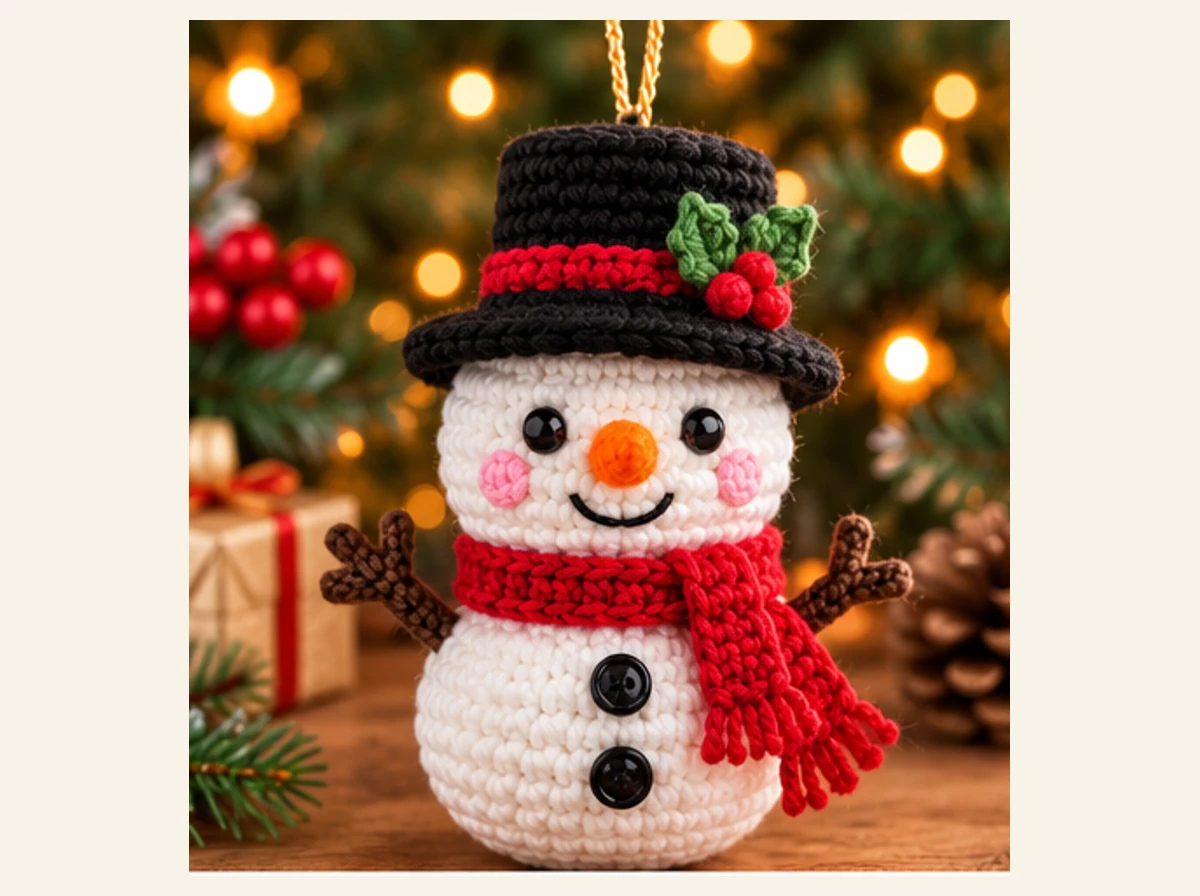
About this guide: The images with this article are illustrative collages we generated to plan this design—not photographs of a physically completed, tested ornament, and the stitch charts pictured in them are unverified conceptual diagrams, not a usable crochet pattern. This is an editorial design guide: it walks through the concept, materials, and general construction approach for a crochet snowman ornament, without claiming specific row counts, a verified chart, or a tested result.
A Cheerful Snowman for the Tree
A round-bodied crochet snowman—two soft stacked circles, a tiny top hat, a carrot nose, and a scarf wound snugly around its neck—is one of the friendliest shapes in holiday crochet. It doesn't need to be literal or technically perfect to read instantly as a snowman, which makes it a forgiving project to plan: change the scarf color, swap the hat's trim, or leave off the holly, and it still says "winter" the moment it's hung on the tree. This guide is aimed at anyone comfortable with basic amigurumi-style crochet—working in continuous rounds, single crochet, simple increases and decreases—who wants to think through how a snowman ornament like this goes together, rather than follow someone else's row-by-row instructions.
Design Anatomy: What the Ornament Includes
Broken into components, a design like this is really a handful of small, separately workable pieces stacked and joined together: a head and a larger body, both rounded spheres worked in white single crochet—the classic two-ball snowman silhouette; a top hat, a small black cylinder with a brim, often finished with a red band; a scarf, a short strip in red or your own color choice, wrapped around the neck seam where head meets body; a small orange nose; dark eyes and optional pink cheek accents (see Safety below for which eye method to choose); two or three decorative buttons down the front; an optional holly accent tucked into the hat band, echoed in several other CrochetSmith holiday ornaments; and a hanging loop attached at the top of the hat or the back of the head.
Materials and Safety
A project like this typically draws on a small, focused set of yarn colors and a few basic notions: white yarn for the head and body, black for the hat, red for the scarf and hat band, orange for the carrot nose, and a touch of green if you're adding a holly accent. Round it out with a crochet hook sized for whichever yarn you choose—check the yarn label's suggested hook size rather than a number we'd invent here—a tapestry needle, stitch markers, small sharp scissors, a little fiberfill stuffing, a secure hanging cord, and either safety eyes and small buttons or embroidery thread and a needle for the face (see the safety note below before choosing).
We're deliberately not giving an exact yardage, gauge, or finished-size figure here. Those numbers only mean something once they've been checked against an actual swatch and a finished piece, and we haven't crocheted and measured this specific design ourselves—inventing numbers that look precise but haven't been verified would be more misleading than simply saying so.
Plastic safety eyes, small buttons, and beads are a choking hazard. If this ornament will be anywhere a young child under three or a pet can reach it—a low tree branch, a stocking, a toy basket—use embroidered features (satin stitch or French knots) for the eyes and face details instead of safety eyes and buttons, and choose a secure, permanent hanging method rather than anything that could be tugged loose or swallowed. If in doubt, treat this as a decorative object for display, not a toy.
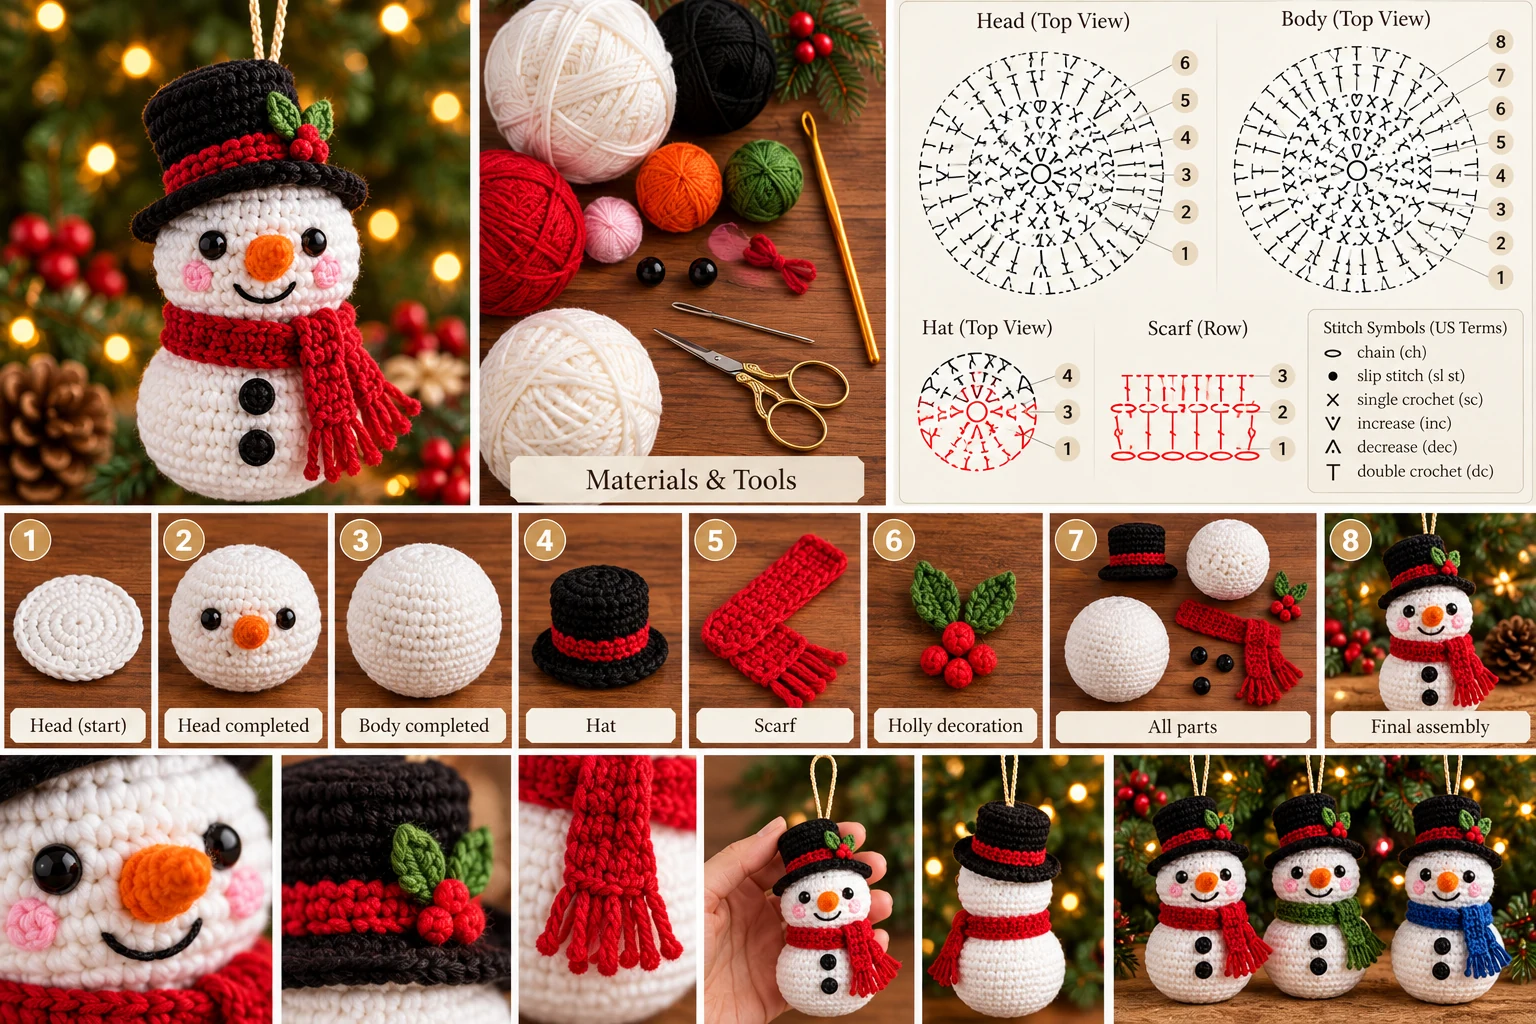
Understanding the Concept Images
The two collage images in this article are AI-generated, and that matters for how to read them. Each one shows a materials flatlay, a set of round-by-round charts for the head, body, hat, and scarf, and a numbered sequence of assembly photos. They're useful for getting a feel for the design—roughly how many rounds a head versus a body might take, what a branching chart looks like, how the pieces stack—but the charts themselves are conceptual illustrations, not a stitch-count-audited pattern. We have not transcribed row counts from them, verified that the numbers of stitches shown are internally consistent, or physically crocheted the design to check that the pieces shown actually fit together as drawn. Treat the charts as a visual reference for the general idea of "circles worked in increasing rounds," not as instructions to follow stitch-for-stitch. If you look closely, you may also notice small inconsistencies between the two collages' charts (for instance, in exactly how many rounds each is labeled)—that's expected for AI-generated diagrams and is itself a reason not to treat them as verified.
Construction Workflow, at the Conceptual Level
Without inventing specific row counts, the general build order for a design like this follows familiar amigurumi logic. The head and body each start from a magic ring or small foundation chain and grow by increasing a consistent number of stitches per round, evenly spaced, until they reach the size you want—the body simply continues to a larger finished diameter than the head. Add eyes, nose, and cheek details to the head before closing it up and stuffing, since it's much easier to attach small features to a piece you can still reach inside of. The hat is worked as a small flat circle for the crown, then switched to straight rounds to form the cylinder, with a wider final round added as the brim and a contrast-color band worked partway up. The scarf is usually a short flat strip worked back and forth in rows, long enough to wrap the neck with a bit of overlap; a holly accent, if you're including one, is typically two small leaf shapes and a cluster of tiny berry bobbles worked separately.
From there, assembly is mostly placement and secure attachment: join the stuffed head to the stuffed body with a few extra reinforcing stitches at the seam, wrap and tack the scarf over it, set the hat on top and stitch it in place, and add buttons or embroidered button marks down the front. Attach a hanging loop or cord last, reinforced with a few extra stitches, since it bears the ornament's full weight every time it's hung. Finish by weaving in every yarn tail and giving each component a gentle tug test before calling it done. We're describing the general approach here, not a specific verified stitch sequence—if a particular step behaves differently than described, that's exactly the kind of detail a real test-stitch would catch, and we haven't done that step yet.
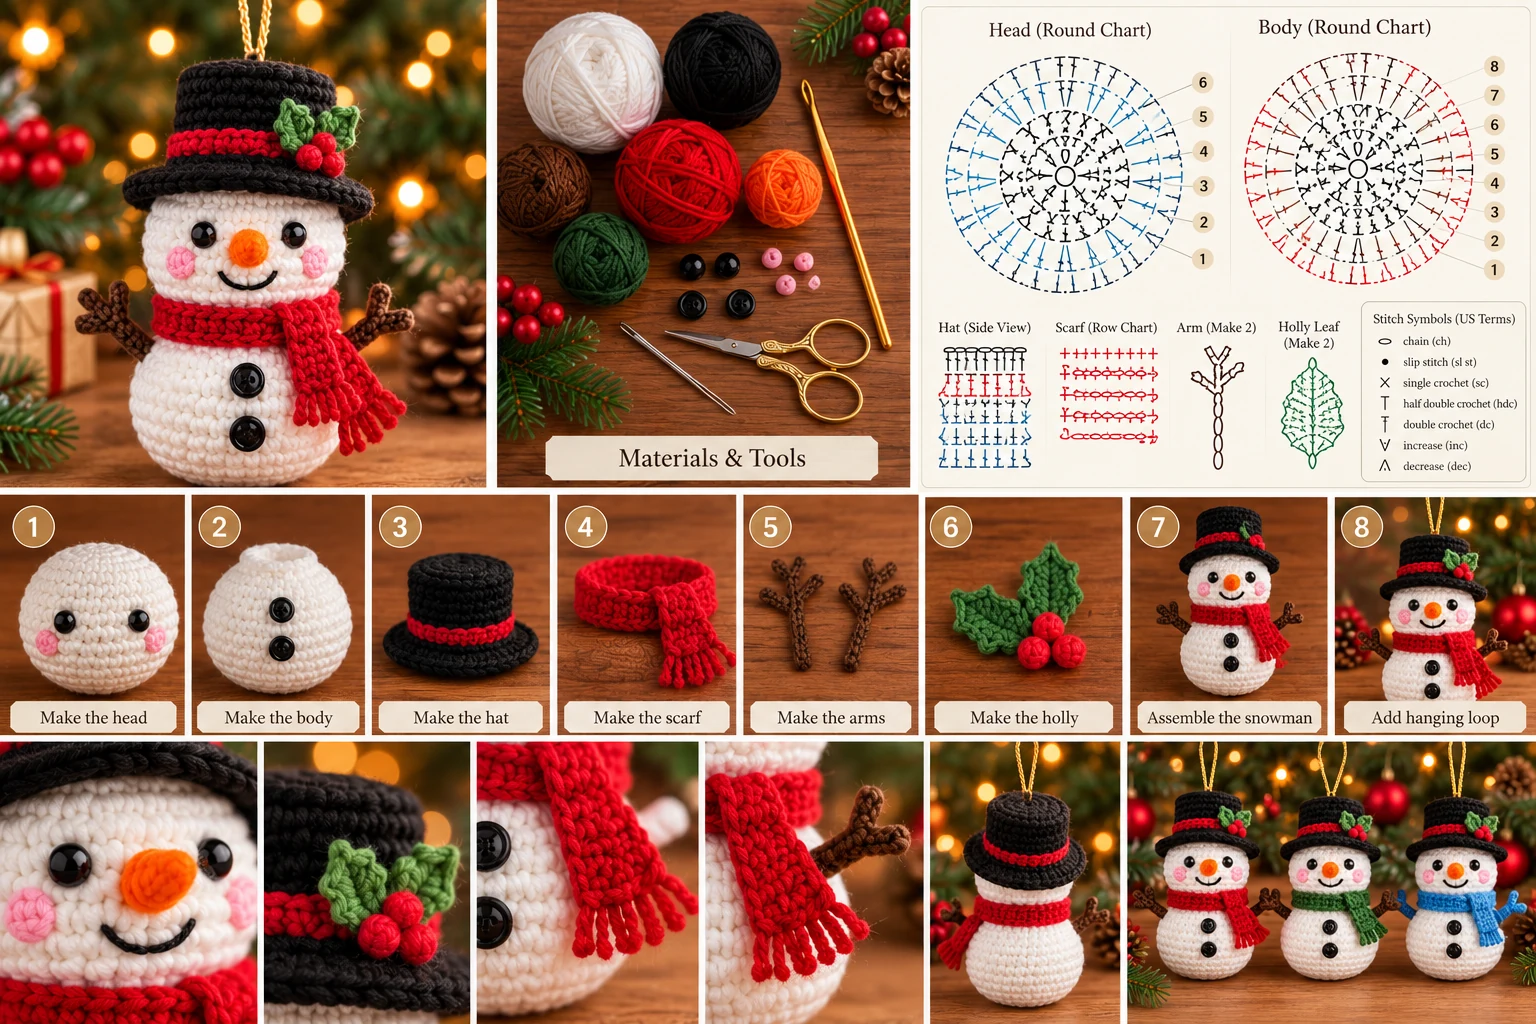
A note on that image: it's a generated illustration of a plausible build order and labeled steps, not photographs documenting an actual CrochetSmith test-stitch. The order it suggests—build the head and body, build the smaller pieces, assemble, then add any trim and a hanger—matches how a project like this is normally approached, but the specific stitch-by-stitch detail behind each numbered step isn't something we're claiming to have verified.
Appearance and Customization
A few easy directions to take this, without changing anything about the construction approach: the classic red-and-black combination (black hat with a red band, red scarf, orange nose); an embroidered face, swapping safety eyes for satin-stitch or French-knot eyes and a stitched smile, which also makes the ornament a safer choice around young children or pets; a simplified, no-button version, skipping buttons entirely or embroidering small dots instead; scarf and band color swaps, from a green scarf to a plaid-look striped band; and holiday gift styling, such as a tiny name tag on the hanging cord or a small set of snowmen in different scarf colors.
Common Practical Considerations
A few things worth keeping in mind as you plan: work your single crochet a little more tightly than you might for a garment, so stuffing doesn't show through gaps between stitches. Stuff firmly enough to hold a round shape without distorting the seam, adding fill gradually rather than all at once. Keep the head noticeably smaller than the body—roughly two-thirds to three-quarters its diameter—so the silhouette reads as a snowman rather than two matching balls. Whip-stitch through both layers with a few extra reinforcing stitches at the head-to-body and hat-to-head seams, since those take the most handling, and attach buttons, the nose, and any holly accent with several passes of thread rather than a single stitch. Finally, attach the hanging loop only after the hat and scarf are on, and let the finished piece hang freely for a moment to check its balance before stitching the loop down for good.
Care, Storage, and Safety
Store finished ornaments in a padded box or soft pouch between seasons, away from direct sunlight that can fade yarn colors and damp storage areas where fiberfill can retain moisture. Spot-clean gently with a barely damp cloth rather than machine washing, since stuffed amigurumi pieces don't always hold their shape after a full wash cycle. As noted above, this ornament—like most small stuffed amigurumi pieces with safety eyes, buttons, or beads—is a choking hazard for children under three and for pets, and is best treated as a decorative object for display rather than a handling toy.
Frequently Asked Questions
Is this a tested, downloadable pattern? No. This is an editorial design and concept guide. We haven't crocheted, test-stitched, or measured this specific design, and there's no row-by-row pattern or PDF attached to it.
Are the stitch charts in the images usable as a pattern? No. They're AI-generated conceptual diagrams that haven't been stitch-count audited or physically crocheted, and we haven't transcribed row counts from them or endorsed them as accurate.
Are the images in this article real photos? No. They're AI-generated illustrative collages used to plan and explain the design concept, not photographs of a finished, tested CrochetSmith piece.
Is this beginner-friendly? Yes—circles worked in rounds, a small cylinder, a flat strip for the scarf, and sewing pieces together are all beginner-accessible amigurumi skills.
Can I make this without safety eyes or buttons? Yes—embroidered eyes and stitched button marks are a straightforward, safer swap if young children or pets will be near the finished ornament.
A Design Guide, Not a Tested Pattern
To be clear about what this article is: it's an editorial concept and planning guide for a crochet snowman ornament, written to help you think through design, materials, and assembly before you start building your own version. It is not a physically tested, stitch-by-stitch crochet pattern, and we haven't published one here or verified the charts shown in the accompanying images. If a fully reconciled pattern (with checked stitch counts and an actual test-stitch behind it) would be useful to you, that would be a separate, larger project from this guide. In the meantime, our guides to single crochet and increases and decreases cover the core techniques this design relies on, and our reindeer ornament guide and layered Christmas tree ornament guide make good companion reads if you're building out a set of handmade holiday décor.