
Crochet Plant Pot Covers: Two Beautiful Designs, Materials & Construction Guide
Explore two beautiful crochet plant pot cover designs, with practical guidance on yarn, shaping, openwork rims, fit, finishing, and plant care.
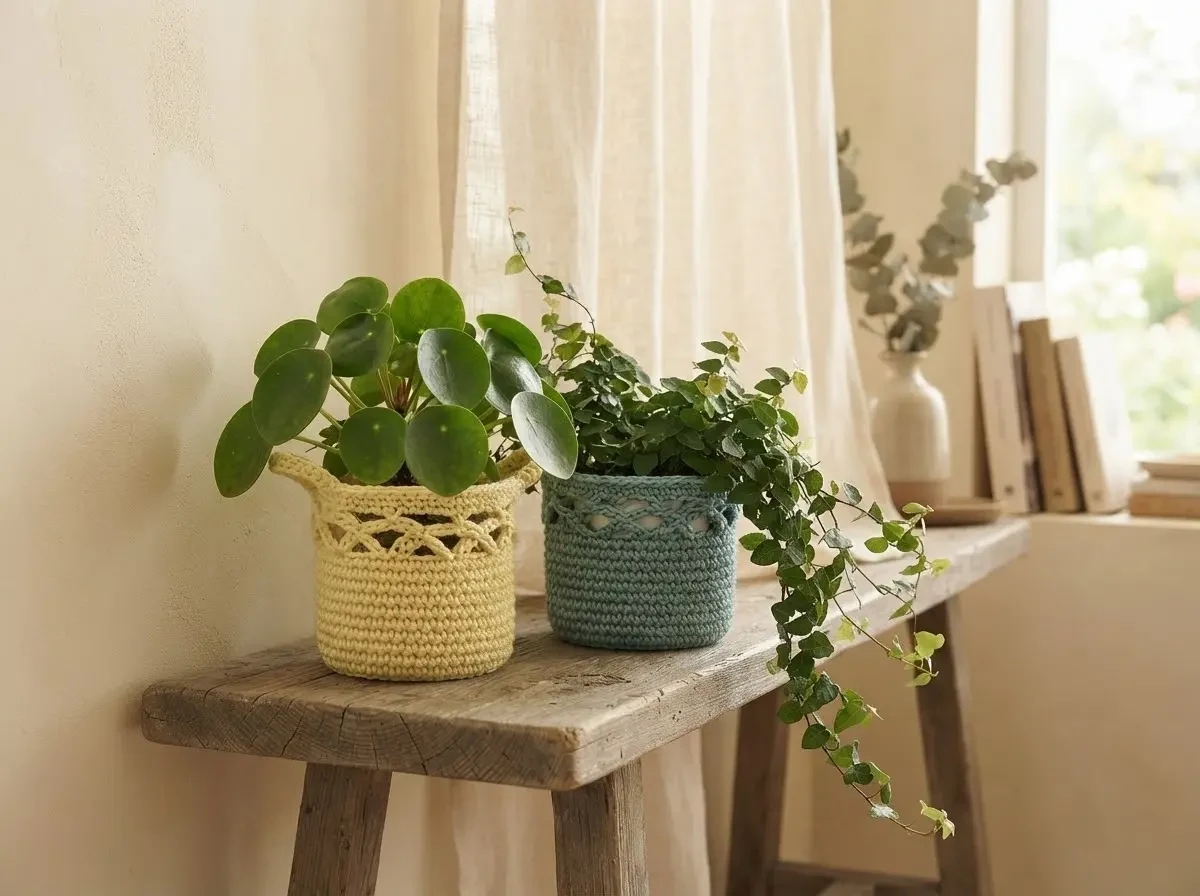
A small houseplant can change the mood of a room. Put that plant inside a thoughtfully made crochet cover, and the pot becomes part of the décor, too. Crochet plant pot covers add warmth and texture to shelves, windowsills, and desks without competing with the greenery they frame.
This guide explores two complementary ideas: Design A, a compact cover with a gently decorative upper edge, and Design B, a slightly taller sleeve with a more noticeable openwork rim and small loop details. Both are inspired by the possibilities of combining a sturdy crocheted body with an airy finishing band.
Rather than presenting an untested pattern as ready to follow, we'll explain the decisions that make a cover attractive, practical, and appropriately fitted to its pot. You'll learn how to choose yarn, plan proportions, understand base and sidewall construction, and avoid the most common finishing problems.
About this guide: This is an original educational design and construction article, not a verified stitch-by-stitch crochet pattern. The reference images do not establish a complete reproducible set of stitch counts, hook sizes, gauge, or round-by-round instructions. Make and measure a swatch, and test any original pattern before describing it as validated.
Why Crochet Plant Pot Covers Work So Well
Crochet brings a softer surface to the clean lines of a ceramic or plastic planter. It can introduce color, conceal a utilitarian nursery pot, and connect a plant display to other handmade objects in the room. A dense fabric gives the cover a tidy silhouette; a few open stitches near the top allow the piece to feel lighter.
A pot cover is not necessarily a planter. The safest arrangement is usually to keep the plant in a separate inner pot with appropriate drainage, then slip that pot into or behind the crocheted decorative cover. Remove the plant for watering, allow excess water to drain, and keep the yarn from sitting in moisture. Crochet should never block drainage holes or trap water against roots.
The best-looking cover is not automatically the most elaborate one. Accurate proportions, even stitch tension, and a clean rim can do more for the finished appearance than complicated decoration.
Meet the Two Designs
Design A: A Compact Cover With a Gentle Openwork Accent
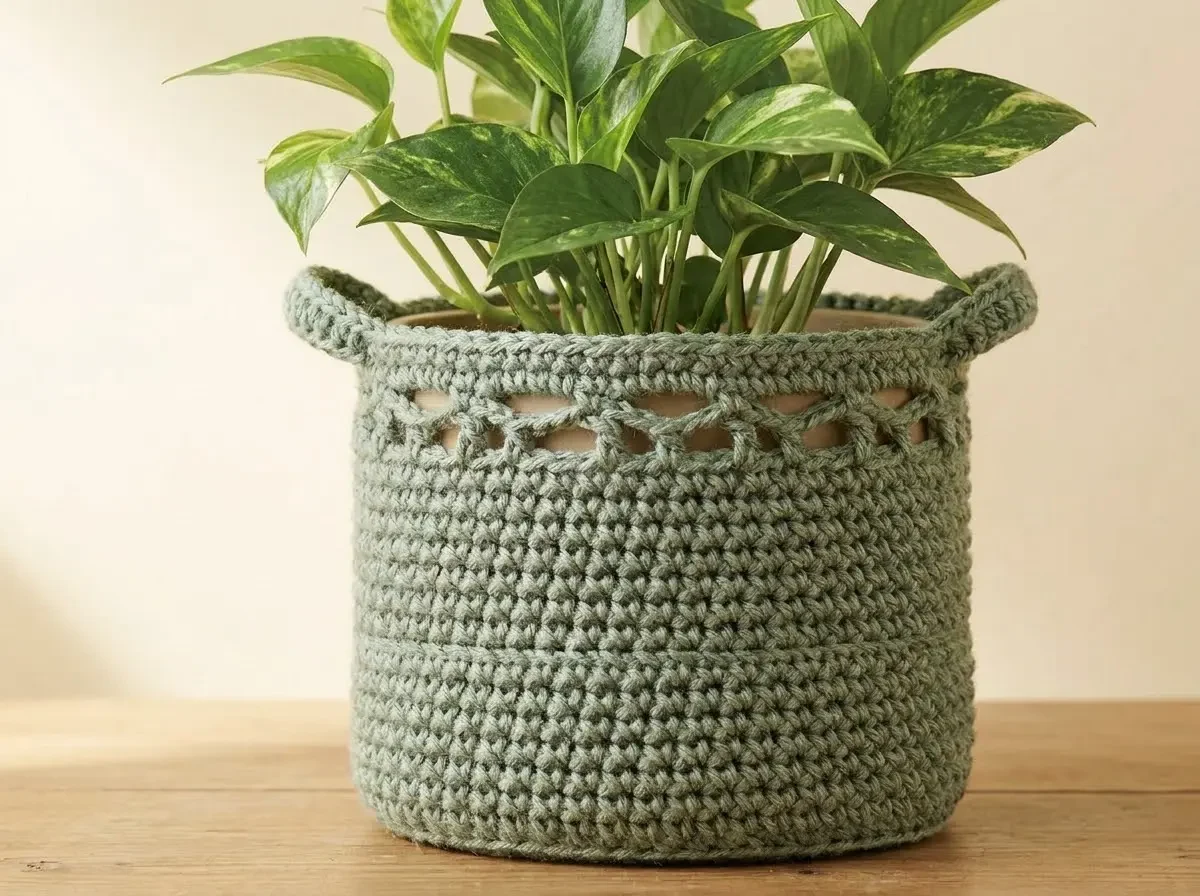
Design A is the quieter option. Imagine a small cylindrical sleeve with a neat, closely worked lower body and a narrow band of decorative openings near its upper edge. Subtle loops add interest without overpowering the plant. In muted sage, butter yellow, or oatmeal, this style works especially well with small succulents or leafy desk plants.
The main visual priorities are a level bottom edge, consistent sidewalls, and an upper band that remains balanced all the way around the circumference. The loops should be decorative unless a separately engineered handle construction has been tested for lifting.
Design B: A Taller Sleeve With a More Expressive Rim
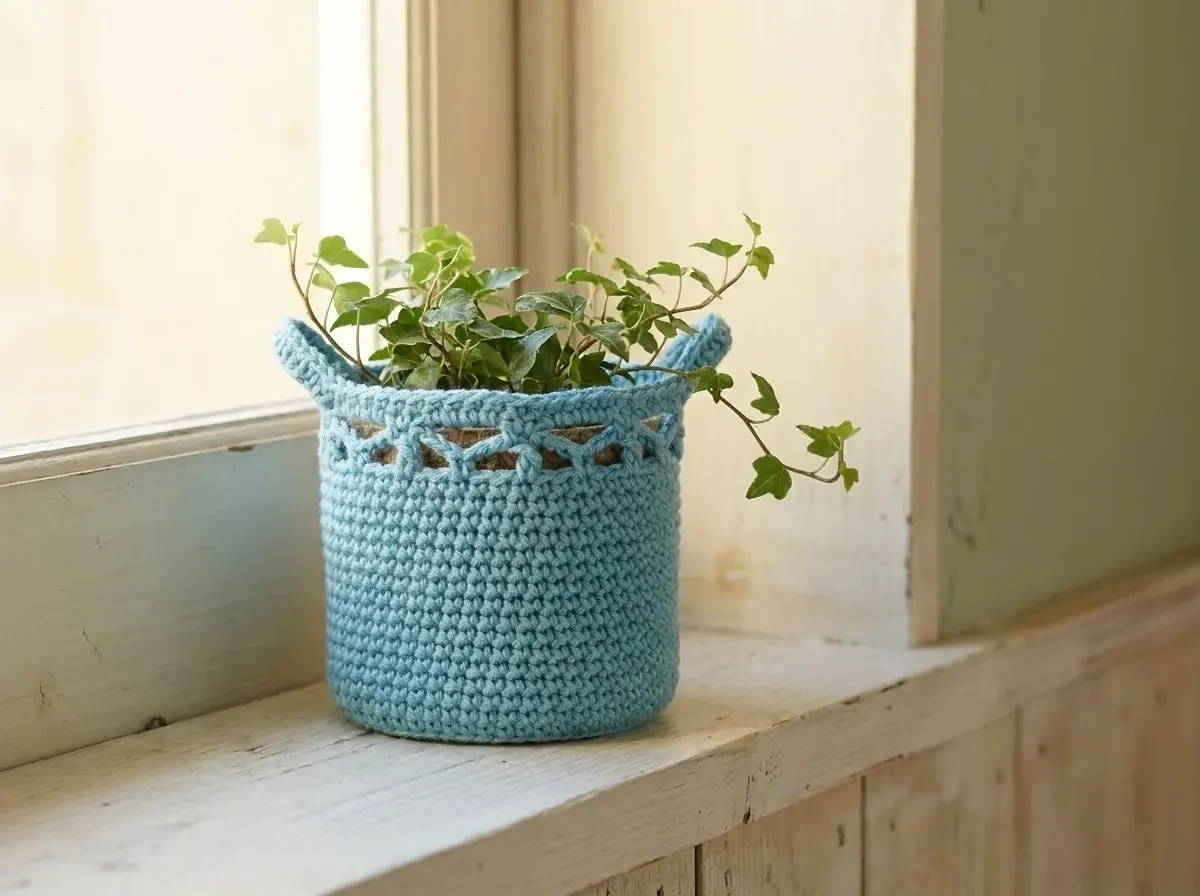
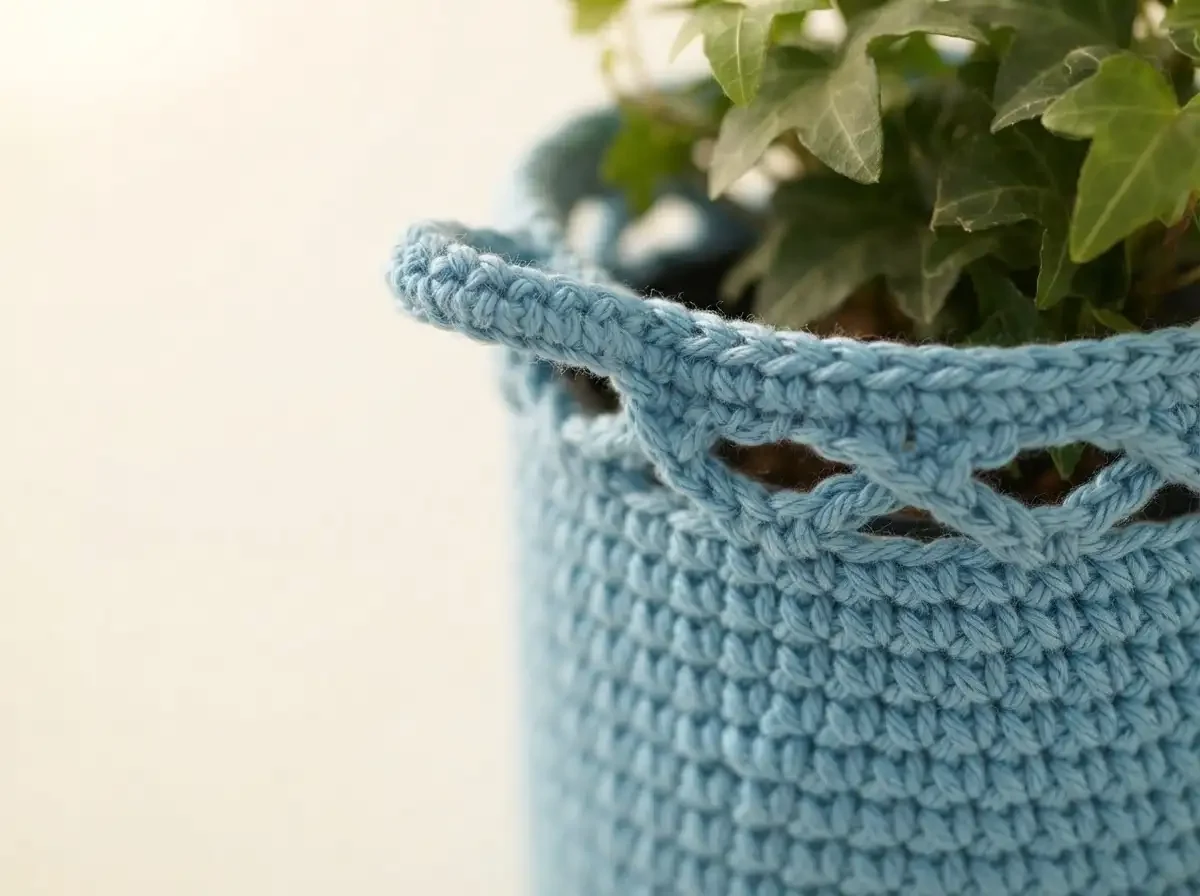
Design B gives the openwork section more room to be noticed. The taller proportions suit a slightly higher inner pot, while the rim can carry a repeating motif and small loop-like accents. A soft blue-green shade looks especially appealing alongside trailing foliage.
Because openwork is generally less supportive than compact crochet fabric, the upper motif should be planned as a decorative transition rather than the primary structure. Keep the lower body firm enough to hold its shape around the inner container.
Start With the Pot, Not the Yarn
Before choosing stitches, measure the actual container. Record the widest outside circumference, the height you want covered, and any taper from the base to the top. Note whether the pot has a saucer, a projecting lip, or a shape that might catch on the fabric.
A sleeve that looks perfect when empty may stretch differently when placed over a pot. A cover that is too tight can distort its decorative motif; one that is too loose can slide or sag. If your yarn stretches significantly, test how the fabric behaves around a similarly sized object rather than relying on flat measurements alone.
Decide early whether your cover will have a crocheted bottom or be an open-ended sleeve. A separate bottom can make the piece feel like a basket, but an open-ended sleeve may be easier to remove before watering and easier to keep dry. Neither choice is universally better.
Choosing Yarn and a Crochet Hook
Cotton and cotton-rich yarns are useful candidates because they often provide clear stitch definition and a pleasant natural texture. However, not all cotton yarn behaves the same way: soft, loosely spun yarn may drape, while firmer cord may produce a more structured fabric. Acrylic and blends can also work for decorative covers, provided you test stretch and care requirements.
Consider the following before committing to a full project:
- Fabric firmness: Does a swatch hold a clean edge, or does it collapse?
- Stitch definition: Can you clearly see the openwork motif?
- Stretch: Does the yarn expand after handling or when placed around a pot?
- Care: Can the finished piece be cleaned according to the yarn label?
- Color: Does the shade complement the plant rather than distract from it?
Choose a hook according to the yarn and the fabric you want, then make a small swatch. The hook size printed on a label is a starting point, not a guarantee of the best basket-like structure. A smaller hook can make stitches firmer, but forcing an overly tight fabric may be uncomfortable and can distort the work.
For further background, see CrochetSmith's guides to yarn weights and choosing a crochet hook.
Understanding the Base and Sidewalls
Option 1: A Flat Crocheted Base
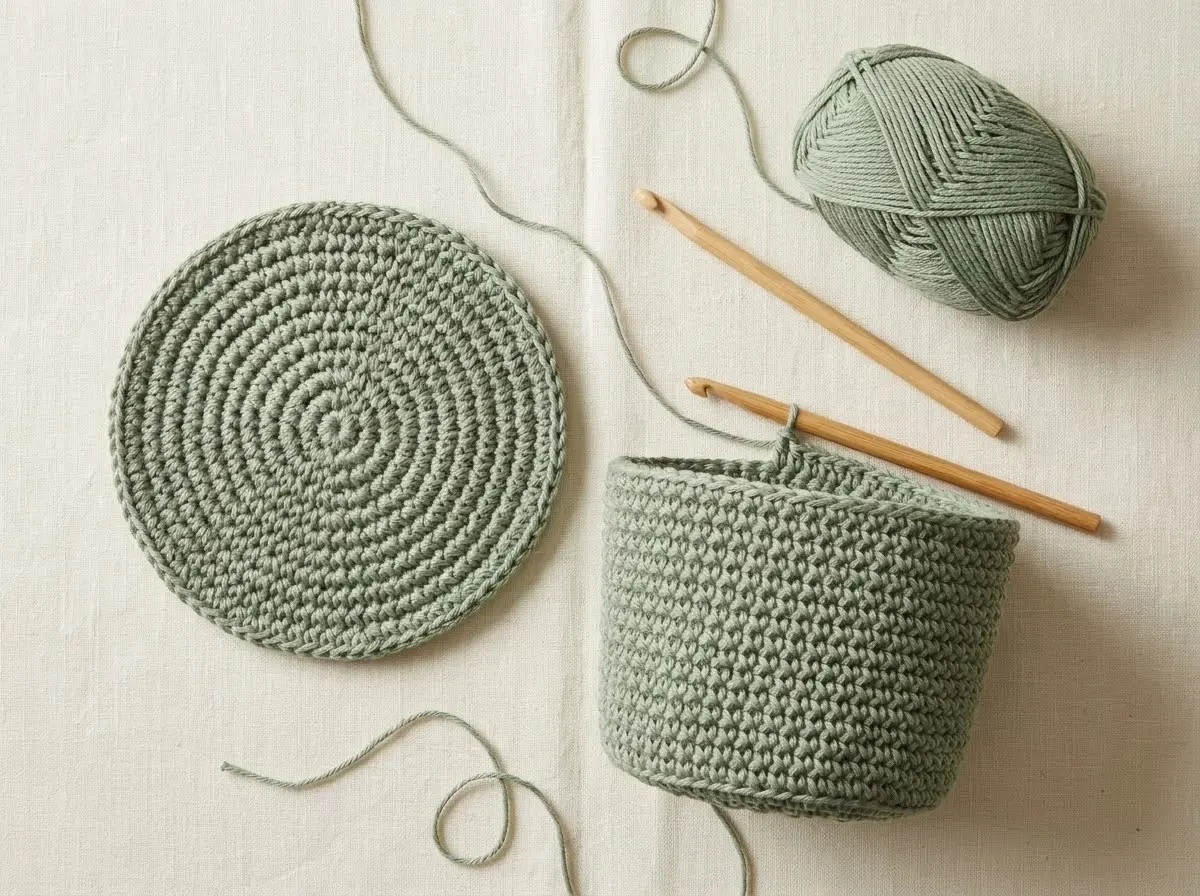
A bottomed cover often begins with a flat circle. Circular crochet uses increases distributed around the rounds so the fabric expands without forming a bowl or ruffle. The appropriate increase rate depends on the chosen stitch, yarn, tension, and intended dimensions; it cannot be reliably determined from a styled photograph.
Lay the base flat frequently. If the edges curl upward before you intend them to, review your increase spacing and tension. If the circle waves, the increase distribution or fabric behavior may need adjustment. The transition into the walls should be intentional so the finished cover sits evenly.
Option 2: An Open-Ended Sleeve
A sleeve can be worked as a tube sized to fit around an existing pot. This avoids enclosing the drainage area and can make removing the cover more convenient. The key challenge is maintaining a consistent circumference and a lower edge that doesn't roll excessively.
Building Stable Walls
Compact stitches such as single crochet can create a tidy lower body. Maintain even tension and check the fit against the pot as you go. A cover with a decorative upper band still benefits from a strong, consistent lower section.
Making the Decorative Rim Look Intentional
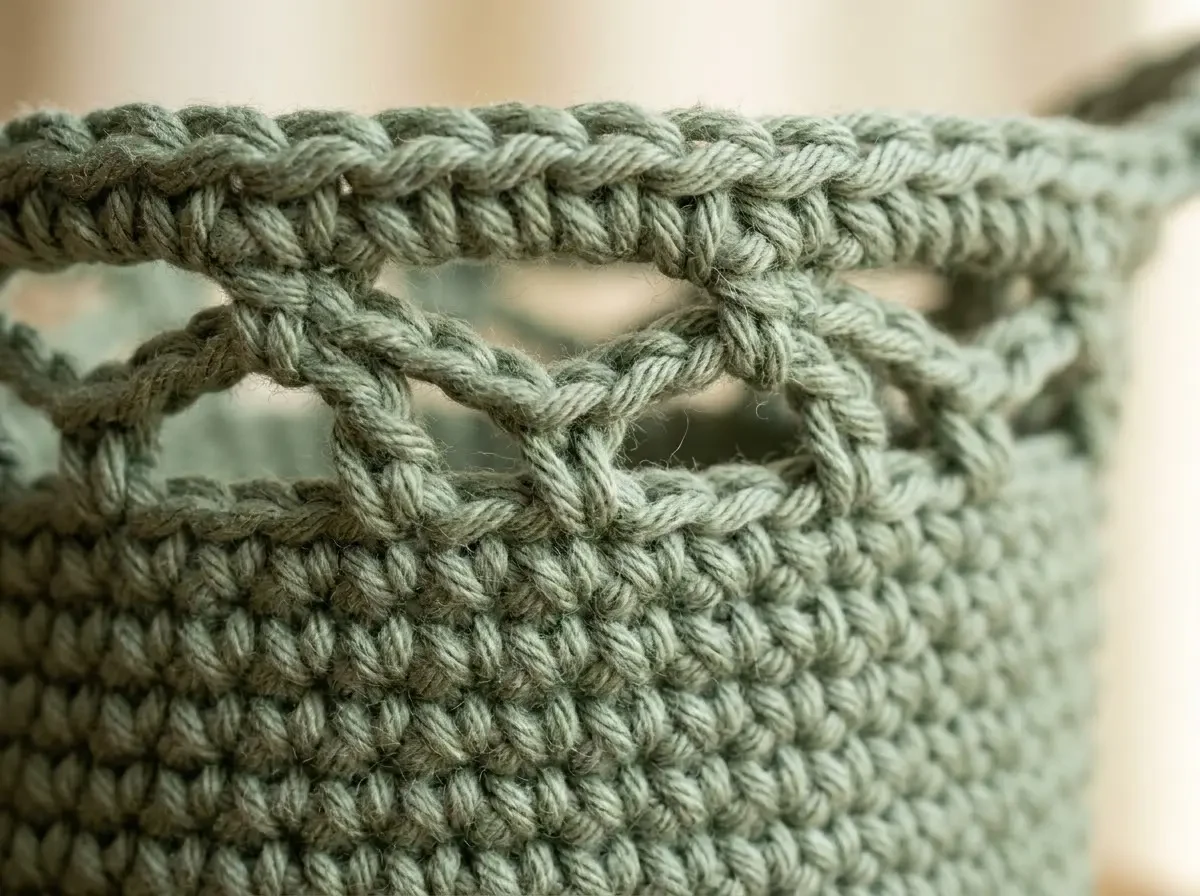
A good openwork rim is a design decision, not simply a collection of holes. Decide how wide the band should be relative to the overall height. A shallow pot may need only a slim accent; a taller sleeve can accommodate a more expressive motif.
When planning the motif, pay attention to its repeat. The stitch count around the body must be compatible with the chosen repeat or deliberately adjusted. Do not add arbitrary chains or skip stitches merely to force the motif to fit; that can cause an uneven edge.
If the design includes loop-like accents, keep them symmetrical. Remember that a decorative loop is not automatically a safe carrying handle. A plant pot can be surprisingly heavy, especially after watering.
How to Compare Design A and Design B
Design A is a strong choice when you want the plant to remain the visual focus. Its smaller openwork band suits compact pots, shelves with limited space, and simple interiors. Design B is better when the cover itself should be a visible decorative element, particularly on a taller pot or an open shelf.
Both designs can be personalized through yarn color, height, rim proportion, and the balance between dense and open stitches. The two styles need not use the same yarn or stitch gauge to feel like a coordinated pair; a shared color family and similar finishing quality can tie them together.
Finishing for a Professional Look
Weave in yarn ends securely, following the yarn's behavior and the fabric's structure. Check the bottom edge for unevenness, make sure the rim sits level, and inspect any loops for loose joins. If the fabric tolerates it, gentle shaping may improve its appearance, but avoid techniques that flatten or damage the yarn.
Place the cover around the dry inner pot and assess the silhouette from all sides. Does it flare at the top? Does it bunch at the bottom? Is the openwork band sitting where you intended? Small adjustments made during construction are much easier than trying to correct a finished cover.
For care, remove the crochet before watering, avoid prolonged dampness, and follow the yarn manufacturer's washing guidance. If a cover gets wet, let it dry thoroughly before putting it back around the pot.
Common Mistakes to Avoid
Making the cover before measuring the pot
Even a beautiful piece can be unusable if the fit is wrong. Measure first and test fit during construction.
Choosing yarn only for its color
Beautifully colored yarn may still be too stretchy or soft for the desired silhouette. Swatch before starting.
Overworking the rim
An elaborate border can overwhelm a small plant pot and may stretch more than the body. Keep the proportions balanced.
Treating decorative loops as handles
Unless the structure has been designed and tested for the load, lift the actual pot rather than the crochet loops.
Leaving the cover wet
Trapped moisture can affect both the yarn and the plant environment. Keep the cover separate from the watering process.
Styling Ideas for Your Home
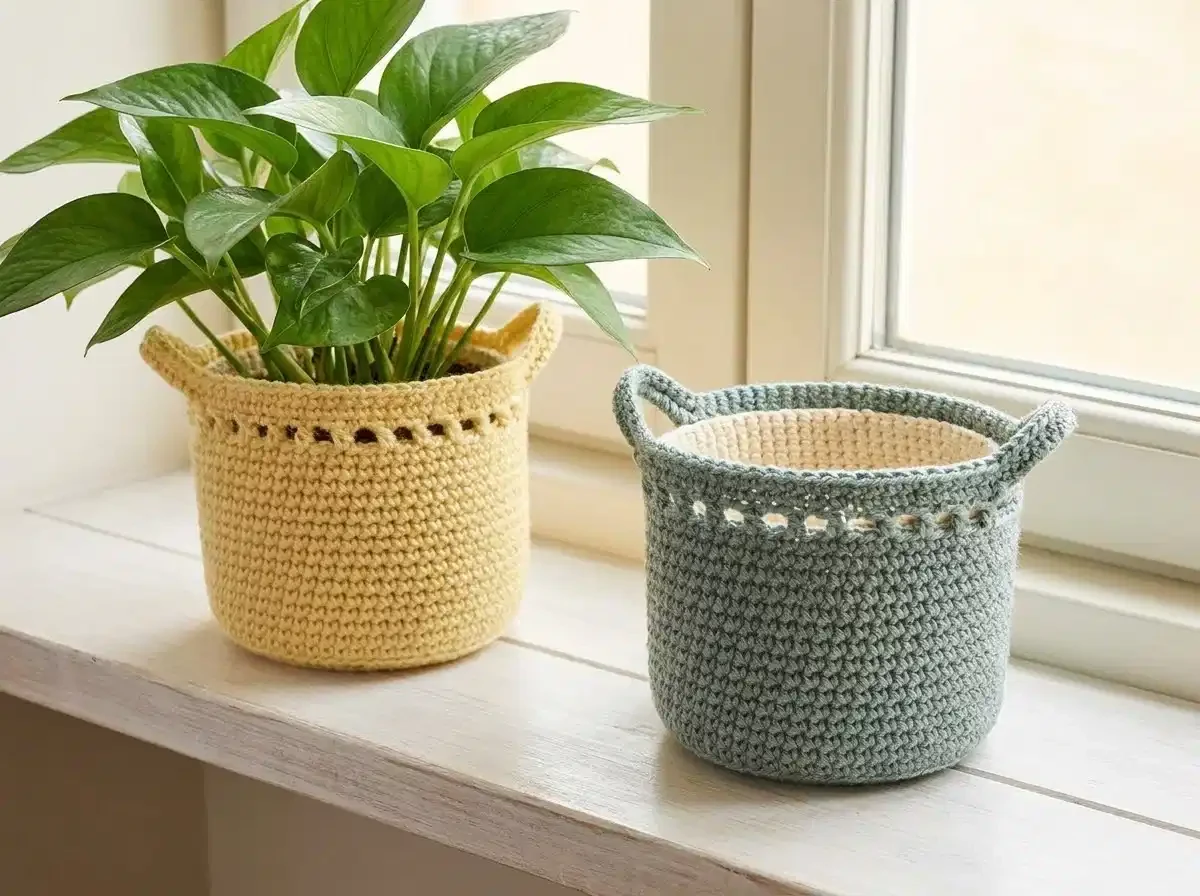
A pair of crochet-covered pots can soften a windowsill, add texture to a home office, or bring a handmade detail to a shelf of books and ceramics. Try one muted color and one gentle accent color rather than matching every object exactly.
For a cohesive display, repeat the same yarn tone in a small coaster or another decorative crochet accessory. Keep the surrounding area relatively uncluttered so the stitch texture is easy to appreciate. Most importantly, make sure the plant still receives the light and care it needs. Explore CrochetSmith's home décor patterns for more coordinating ideas.
Frequently Asked Questions
Can a beginner make a crochet plant pot cover?
A simple compact sleeve may be approachable once you can work consistent stitches and maintain an even edge. A bottomed cover with circular shaping and a repeating openwork rim requires a little more planning.
Should I crochet directly around a plant pot?
You can check fit against a clean, dry pot, but keeping a removable inner planter is usually more practical for watering and cleaning.
Is cotton the best yarn?
Cotton is a useful option, especially for clear stitch definition, but suitability depends on the yarn's firmness, stretch, and care requirements. Test a swatch.
Can I put soil directly into the crocheted cover?
No. A crocheted decorative cover is not a waterproof, drainage-safe plant container. Use a suitable inner pot.
Are the decorative loops strong enough to carry the plant?
Do not assume so. Treat them as decoration unless a specific construction has been load-tested.
Does this article include an exact pattern for Designs A and B?
No. It explains the design principles and construction choices. A complete pattern would require independently developed and tested stitch counts, measurements, and instructions.
Final Thoughts
Crochet plant pot covers are a satisfying meeting point between practical crafting and interior styling. Design A offers a compact, understated accent; Design B makes more of the decorative rim. Both benefit from the same fundamentals: accurate measurements, suitable yarn, consistent stitches, a thoughtful fit, and careful finishing.
Start with the pot you already own, make a swatch, and let the plant guide the proportions. For more ideas, explore CrochetSmith's crochet stitch, yarn, hook, and home décor resources. If you enjoyed this project, our guides to the crochet owl basket and crochet cup cozy ideas cover two more handmade storage and display pieces.