
How to Read Crochet Symbols and Charts: A Beginner's Guide
Learn how to read crochet symbols and charts with this beginner-friendly guide: common stitches, chart keys, rows, rounds and foreign-language patterns.
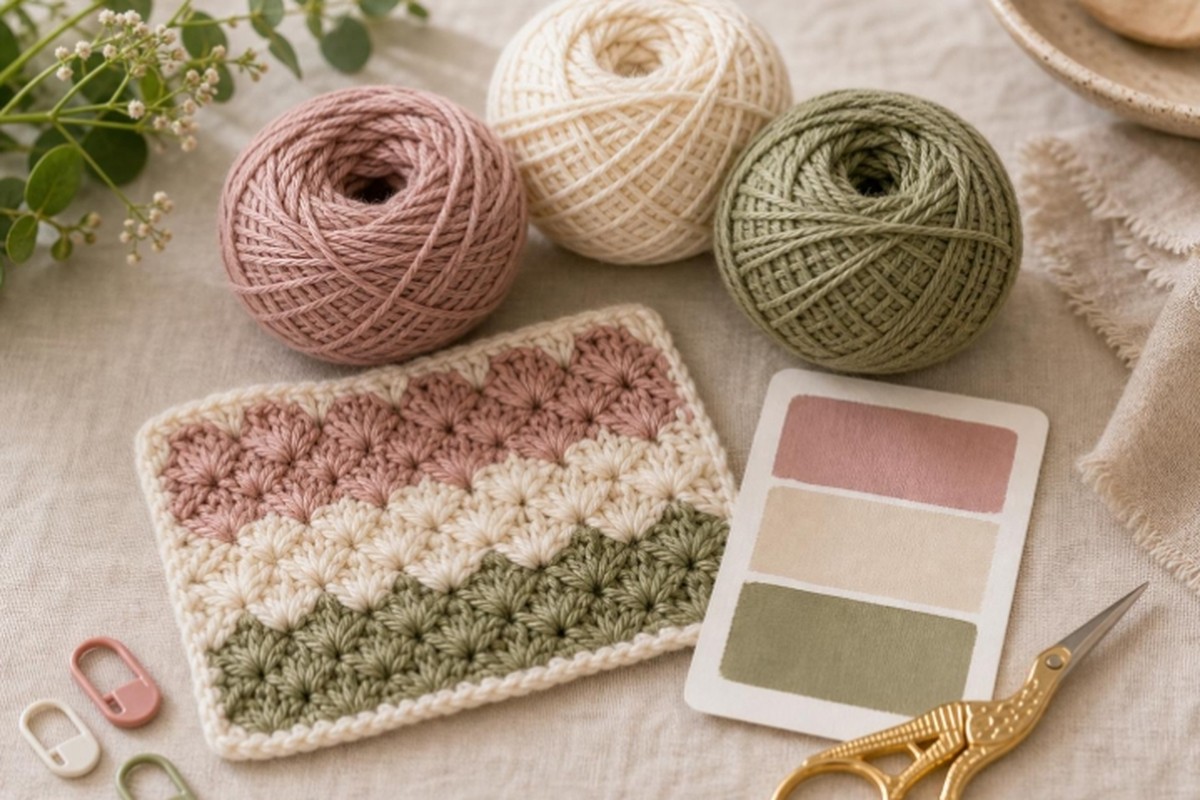
Crochet patterns come in three main forms: fully written instructions, a chart (sometimes called a diagram), or both together. A chart describes the same fabric visually, laying stitches out row by row or round by round with a small set of symbols instead of sentences. This guide starts with the handful of stitches you will meet in almost every chart, walks through reading one step by step, and covers what to do when the pattern itself is written in a language you do not read.
The single habit that prevents most chart-reading mistakes: find and read the chart's own key before you follow a single symbol. Everything else in this guide builds on that one step.
What Are Crochet Symbols and Charts?
A crochet symbol is a small mark that stands for one stitch or instruction. A chart arranges those symbols the way the stitches will actually sit in the finished fabric: side by side along a row, or spreading out around a ring for a motif worked in rounds. Looking at a chart, you can often see the shape of a piece, where it increases or where a pattern repeats, at a glance, in a way that is harder to picture from sentences alone.
Written instructions describe the same stitches in words: "2 sc in next st, sc in each of next 3 sts" tells you what to do, one phrase at a time, in reading order. A chart shows that same instruction as a symbol placed exactly where it belongs in the shape, so the geometry of the piece is visible as you work. Neither format is more correct than the other, and many patterns give both, which is often the easiest way to check your own reading against the designer's intent.
Symbols are not perfectly standardized across the whole craft. Most designers draw from a broadly shared set of shapes, but exact styling, which stitches get their own symbol versus a shared one, and how special instructions are marked can all vary by designer, publisher, or country. That is why almost every chart comes with its own key, or legend: a small reference panel, usually in a corner of the page, that defines exactly what each symbol used in that chart means. Always find the key before you start reading the chart itself, even if you already know a different designer's conventions well, since this chart may not use them in quite the same way.
Common Crochet Symbols and Their Meanings
A short list of stitches covers most of what you will meet in a beginner-to-intermediate chart. US terms are used as the primary names below, since that is CrochetSmith's convention throughout the site; UK equivalents are noted beside each one.
- Chain stitch (ch). The stitch that starts almost every project and often serves as the foundation row a chart is built on. See the chain stitch guide for how to work it.
- Slip stitch (sl st). The flattest stitch, used to join rounds, move across a few stitches without adding height, or finish an edge. See the slip stitch guide.
- Single crochet (sc in US terminology). A short, dense stitch that makes a firm fabric. See the single crochet guide.
- Half double crochet (hdc in US terminology). A middle-height stitch between single and double crochet, with a softer drape than single crochet. See the half double crochet guide.
- Double crochet (dc in US terminology). A taller stitch that builds fabric quickly and drapes more loosely. See the double crochet guide.
- Treble crochet (tr in US terminology). Taller again than double crochet, used for open, airy fabric and tall motifs.
| Stitch | Common abbreviation | Basic purpose | Terminology note |
|---|---|---|---|
| Chain | ch | Foundation stitch and spacer; rarely used alone in the body of a piece | Same abbreviation in US and UK patterns |
| Slip stitch | sl st (US), often ss (UK) | Joining, moving along a row with no added height, finishing edges | Same stitch, different common abbreviation |
| Single crochet | sc (US) | Short, dense, sturdy fabric | Called double crochet (dc) in UK patterns |
| Half double crochet | hdc (US) | A middle height with a softer drape than single crochet | Called half treble (htr) in UK patterns |
| Double crochet | dc (US) | Taller stitch, builds fabric quickly | Called treble (tr) in UK patterns |
| Treble crochet | tr (US) | Tall, open stitch for airy fabric | Usually called double treble (dtr) in UK patterns |
The terminology note column is the one beginners trip over most often: US and UK crochet use the same stitch names for different stitches, not just different abbreviations for the same stitch. "Double crochet" means one stitch in a US pattern and a taller one in a UK pattern. Always check which terminology system a pattern or chart key is using before you begin, rather than assuming from the stitch name alone.
No single symbol shape is treated here as the one true standard. Widely used convention tends to mark chain stitches with a small oval, slip stitches with a dot, and taller stitches with an upright mark crossed by a short bar for every extra "yarn over" the stitch needs, but a chart's own key is always the final word on what its symbols mean. Treat any general description of symbol shapes, including this one, as a starting impression to confirm against the specific key in front of you, not a substitute for it.
How to Read a Crochet Chart Step by Step
Once you know roughly what the common stitches look like, reading an actual chart comes down to a short, repeatable process.
- Find and read the chart key first. Before following a single symbol, locate the key and confirm what every symbol used in this specific chart means, including any that look unfamiliar.
- Work out whether the chart shows rows or rounds. A row-based chart is read back and forth in horizontal bands; a round-based chart, common for motifs like granny squares, spreads out from a center point and is read working outward, round by round.
- Identify the starting point. Charts usually mark the first stitch clearly, often with a number "1" or an arrow. Find it before you pick up your hook.
- Follow the chart's own reading direction. Whether you read a row left to right or right to left, and which direction a round turns, depends on the specific chart's conventions, on whether the piece is worked flat or in the round, and on the designer's own notes. There is no single direction that applies to every chart, so confirm it for this one rather than assuming.
- Track repeats, stitch counts, and special instructions as you go. Brackets, asterisks, or a shaded block often mark a section that repeats a set number of times. Counting stitches or rounds as you work, the same way you would with written instructions, catches a missed repeat early. A row or round counter, of the kind reviewed in CrochetSmith's look at an interchangeable counting hook set, can make this easier to keep track of on a longer chart.
- Cross-check against the written instructions when both are given. If a pattern includes both formats, use the written version to confirm anything the chart leaves ambiguous, and vice versa. Agreement between the two is a good sign you are reading the chart correctly.
How to Understand a Foreign-Language Crochet Pattern
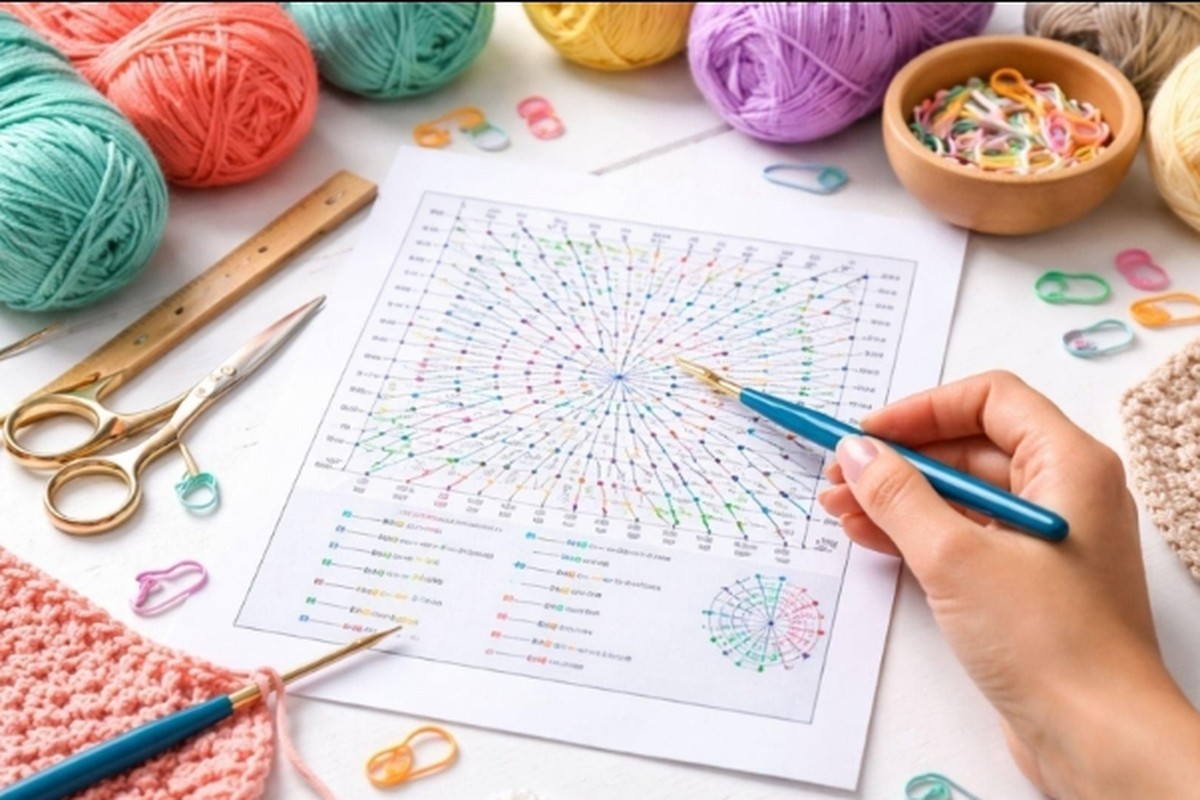
Crochet charts travel well across languages, because a symbol for a stitch generally means the same thing regardless of the words printed around it. Suppose you find a pattern written entirely in a language you do not read, with a small chart, a materials list, and a short line of numbers at the top. Here is how to approach it.
- Start with the chart key and any stitch diagrams. These are usually the most language-independent part of the page, since a symbol is a symbol regardless of the caption beside it.
- Look for numbers, row or round labels, and repeat markers. Numerals, parentheses, brackets, and asterisks tend to follow familiar conventions even when the surrounding text does not, and they often tell you stitch counts and repeat instructions on their own.
- Check the yarn, hook size, dimensions, and gauge information. These are usually given as numbers and standard units or symbols, such as a yarn weight number, a hook size in millimeters, or a measurement in centimeters, which you can look up independently of the surrounding language. CrochetSmith's yarn weights guide and guide to choosing a crochet hook can help translate those figures into something you recognize.
- Look for color changes and assembly instructions in the chart itself. Color changes are often shown directly in the chart through shading or a legend of colored symbols, which sidesteps the need to read any text at all. Assembly steps, if present, are more likely to rely on photos or diagrams than on charts, so lean on those images.
- Use stitch abbreviations and diagrams as additional clues. Many languages abbreviate their own stitch names in ways that, once you know the pattern's terminology system, become recognizable with practice, even without a full translation.
- Treat machine translation as an aid, not a guarantee. A translation tool can help with a materials list or a general introduction, but crochet terminology does not always translate literally or correctly, especially around stitch names and abbreviations. Use a translation to get your bearings, then verify anything technical, such as a stitch name or a gauge figure, against the chart and numbers themselves.
Common Mistakes When Reading Crochet Charts
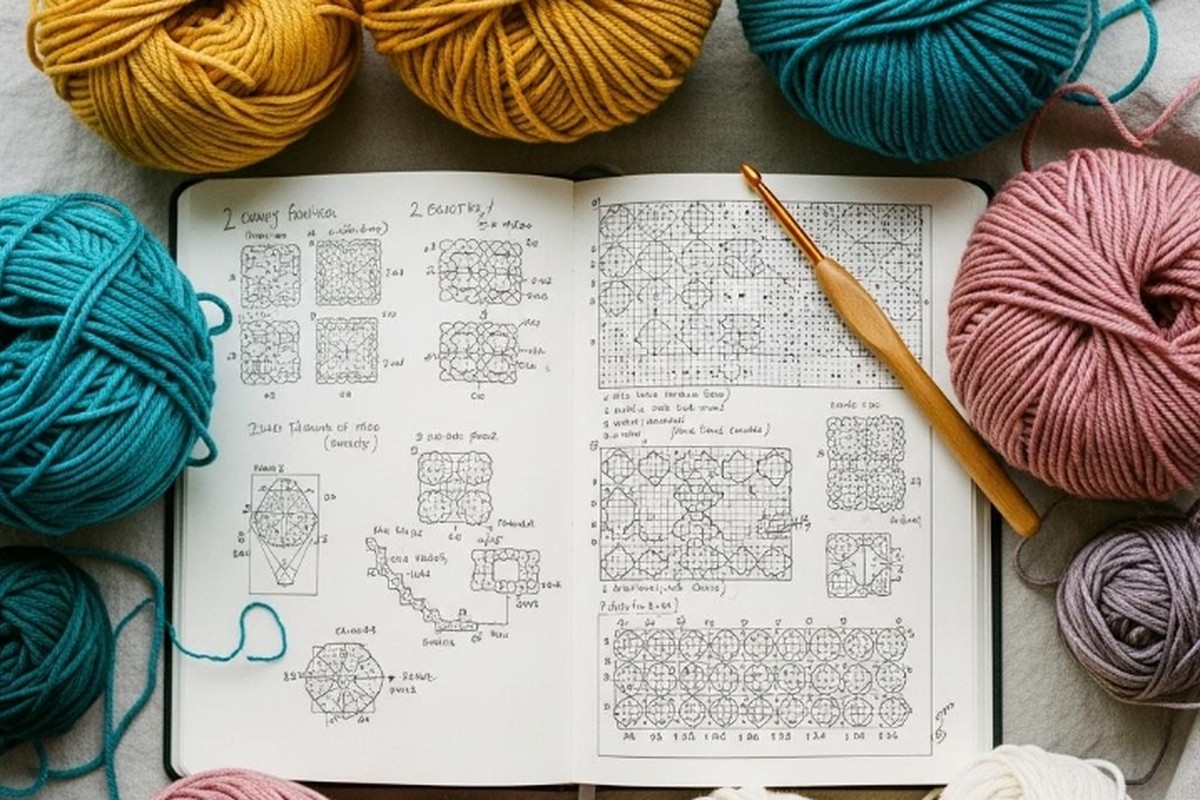
Most chart-reading trouble traces back to a handful of avoidable habits.
Skipping the chart key
It is tempting to jump straight into a chart that looks familiar, but a key that differs from what you expect, even slightly, can throw off an entire piece. Read the key every time, even for a chart style you think you already know.
Confusing US and UK terminology
Because the same stitch names describe different stitches in the two systems, working a chart's symbols as if they followed the other terminology produces a noticeably different fabric: typically taller and looser, or shorter and denser, than intended. Check which system a pattern uses before you begin, not partway through.
Starting from the wrong point
Beginning at the wrong stitch, or reading a round chart from the center outward when it was meant to be read from the outside in, throws off everything that follows. Confirm the starting point and the overall reading direction before your first stitch, not after you notice something looks off.
Misreading repeats
A repeated section, whether marked with asterisks, brackets, or a shaded block on the chart, is easy to work one time too many or too few, especially on a long row. Count as you go rather than trusting your place from memory.
Assuming every chart uses identical conventions
A symbol shape, a reading direction, or a convention for marking color changes that was correct for one designer's chart will not necessarily be correct for another's. Re-check the key and the surrounding notes on every new pattern, even from a designer or publisher you have used before.
Ignoring stitch counts, joining instructions, or turning-chain notes
Charts and written instructions both tend to include small notes, such as a stitch count at the end of a row, whether to join a round with a slip stitch, or whether a turning chain counts as a stitch. Skipping these notes is a common source of a piece slowly drifting in size or shape over several rows.
Practice With a Simple Crochet Chart
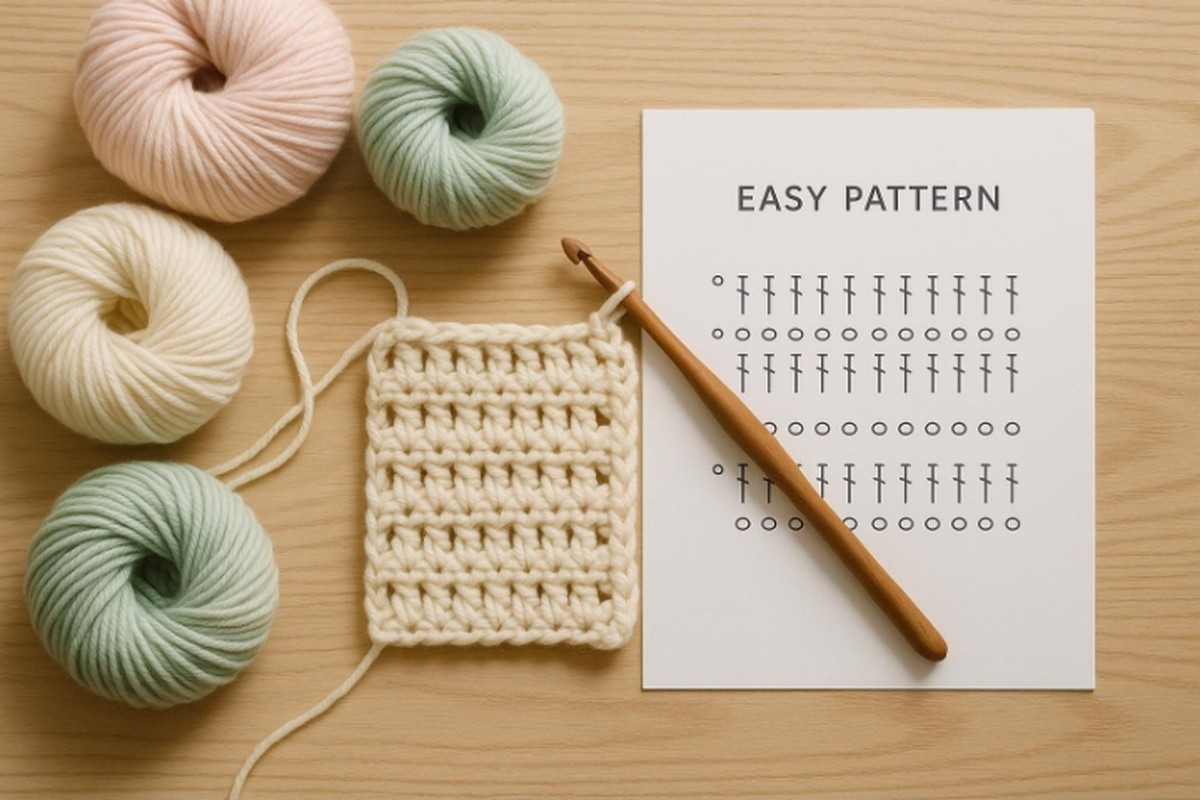
Here is a small, original swatch you can use to practice reading a chart against its written instructions. It is worked flat, in single crochet, four rows deep.
Written instructions:
- Foundation: Chain 6.
- Row 1: Sc in the 2nd ch from hook and in each ch across. (5 sc)
- Row 2: Ch 1, turn. Sc in each st across. (5 sc)
- Rows 3–4: Repeat Row 2. (5 sc)
The same four rows, shown chart-style as a simple grid rather than as drawn symbols, so you can practice matching a chart's layout to the written instructions without relying on any one set of symbol shapes:
| Row | Stitches, in reading order | Stitch count |
|---|---|---|
| Foundation | ch · ch · ch · ch · ch · ch | 6 chains |
| Row 1 | sc · sc · sc · sc · sc (worked into chains 2–6 from the hook) | 5 sc |
| Row 2 | ch (turning) · sc · sc · sc · sc · sc | 5 sc |
| Rows 3–4 | Same as Row 2 | 5 sc |
Walk through it stitch by stitch: start with 6 chains. Skip the first chain from your hook (it sits under the loop already on your hook and is not worked into), and work one single crochet into each of the remaining 5 chains, leaving you with 5 single crochets. Turn your work, chain 1 (this turning chain does not count as a stitch here), and work one single crochet into each of the 5 stitches below. Repeat that same row two more times, and you will have a small, square-ish swatch, 4 rows deep and 5 stitches wide.
Check your understanding: if you worked Row 2 correctly and ended with 6 stitches instead of 5, what is the most likely cause? (A common answer: the turning chain was worked into as if it were a stitch, adding one extra single crochet. In this pattern, the turning chain does not count as a stitch, so Row 2 should still end at 5 sc.)
Once this small swatch feels familiar, a real beginner pattern that uses only slip stitch and single crochet, such as CrochetSmith's Stacked Coaster Set, is a reasonable next step for applying the same stitches to a finished project.
Frequently Asked Questions
Are crochet symbols the same in every pattern?
Not exactly. Most designers draw from a broadly shared set of conventions, but exact symbol styling and how special instructions are marked can vary by designer, publisher, or country. That is why almost every chart includes its own key, and why it is worth checking even a familiar-looking chart against it.
Do crochet charts use US or UK terminology?
Either, depending on where the pattern was published and by whom. The chart symbols themselves do not usually announce which system they follow, so check the pattern's stated terminology, or the abbreviations used in its written instructions, before you start.
Is a written crochet pattern easier than a chart?
It depends on the reader and the project. Written instructions can feel more approachable at first because they read like sentences, while a chart can make a piece's overall shape, and its repeats, easier to see at a glance once you are comfortable with the symbols. Many crocheters end up using both together.
Can I read a crochet chart if I do not speak the original language?
Often, yes, because a chart's symbols, numbers, and general layout tend to carry across languages better than the surrounding text. Start with the key, the stitch diagrams, and the numbers, and treat any machine translation of the text as a helpful aid rather than a guaranteed accurate source for technical details.
Where should I start when reading a crochet chart?
With the key. Confirming what every symbol in that specific chart means, before you follow a single stitch, is the one step that prevents most other chart-reading mistakes.
Reading a crochet chart comes down to the same short process every time: start with the chart's own key, work out whether it shows rows or rounds, follow its particular starting point and reading direction, and keep track of repeats and stitch counts as you go. Cross-checking against written instructions, when both are given, is one of the simplest ways to confirm you are reading a chart correctly. For more on reading written patterns generally, including abbreviations and US/UK terms, see how to read a crochet pattern.